Advanced Layering Techniques: Deepening Your Scrapbooking Skills
Scrapbooking is an art form that allows enthusiasts to document special moments, memories and emotions in a creative and visually appealing way. One of the fundamental techniques that can take your scrapbooking to a deeper and more elaborate level is “layering” or overlapping. In this article, we’ll explore advanced layering techniques that will help you deepen your scrapbooking skills, allowing you to create truly captivating and unique layouts.
Table of Contents
What is Layering?
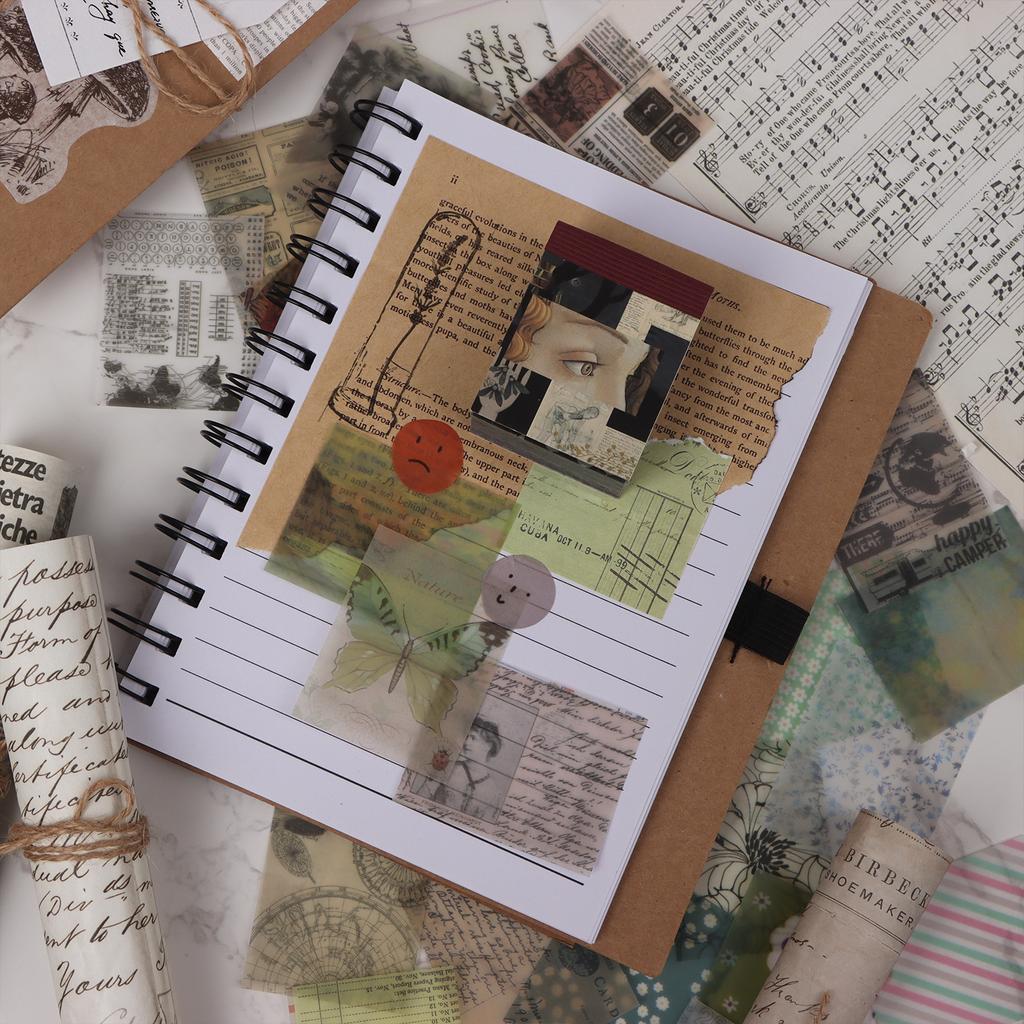
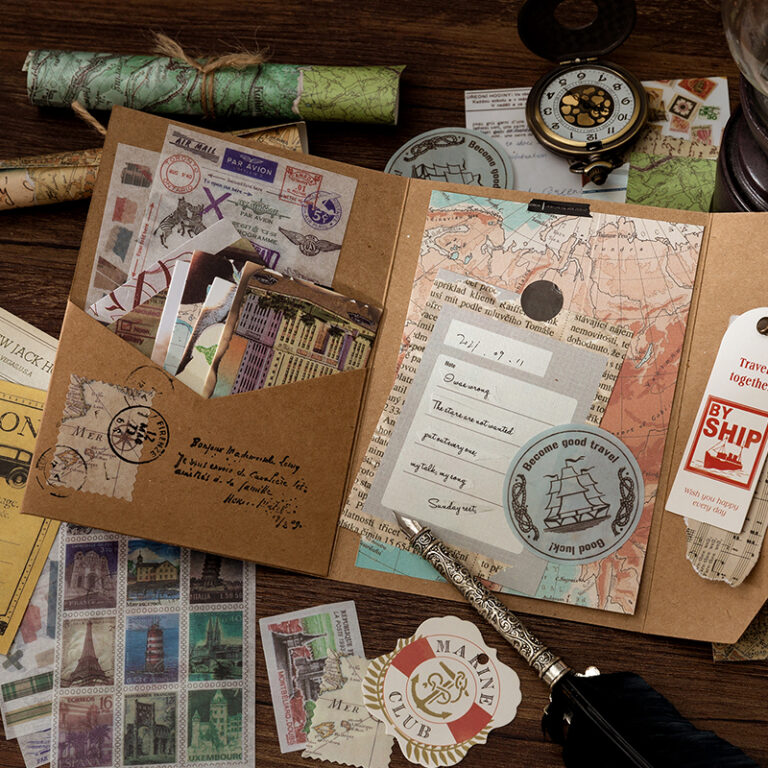
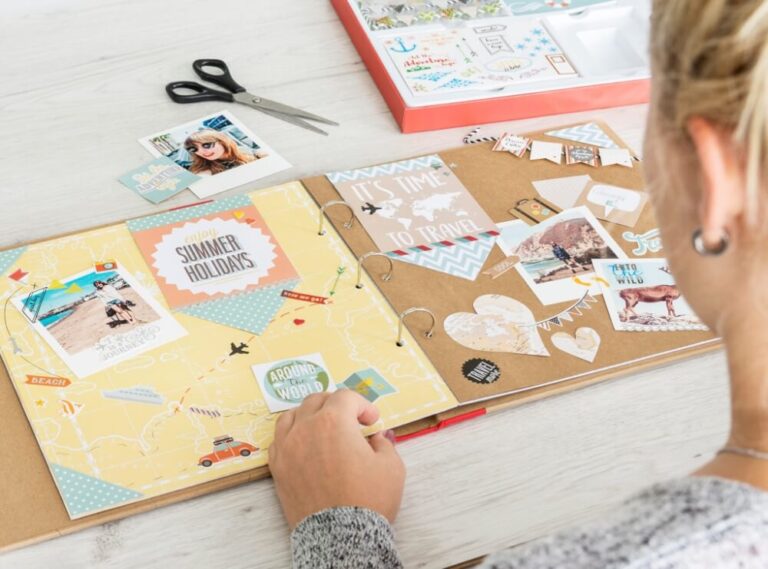
In the context of scrapbooking, “layering” refers to a design technique in which you create multiple layers of decorative elements on a scrapbooking page or project. This technique is used to add depth, dimension, and visual interest to your layout. The idea is to create a visually attractive and balanced composition, combining different paper elements, images, stickers, cutouts and other embellishments in overlapping layers.
Here are some tips on how to layer in scrapbooking:
- Choose a base: Start with a sheet of paper as the base for your layout. This will serve as the background of your composition.
- Photos: Place your photos on the page, choosing where you want them to be located. They are usually placed in the center or in a prominent location, but you can experiment with different positions.
- Paper Additions: Use pieces of decorative paper or cardstock cut into various shapes and sizes to create layers around photos. These layers can be placed under photos to create a frame effect or overlaid on top of them to add texture and visual interest.
- Stickers and Cutouts: Add stickers, cutouts, or decorative elements related to the theme of your layout. They can be placed on layers of paper or in strategic locations to attract the eye.
- Titles and text: If desired, include a title or explanatory text in your project. This can be done with sticky letters, stamps, or hand calligraphy.
- Three-dimensional elements: To add even more dimension, you can use three-dimensional elements such as paper flowers, buttons, ribbons or bows.
- Experiment: Don’t be afraid to experiment with different arrangements and combinations of elements to find the look that suits you best.
Layering in scrapbooking allows you to create personalized, visually interesting layouts, highlighting the moments and memories you want to preserve in a unique and creative way.
Tips for Mastering Advanced Layering
1. Color and Pattern Selection
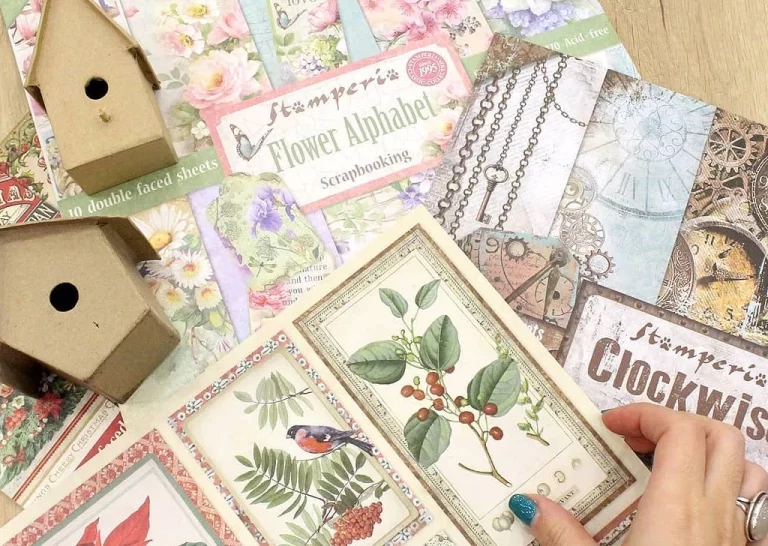
When creating layers in your scrapbooking layout, choosing colors and patterns plays a crucial role. Start by selecting a background paper that defines the overall color palette. When adding layers, opt for papers and elements that complement or contrast harmoniously with the base color. Experiment with subtle and bold patterns to create an intriguing look.
2. Variety of Textures
Texture is a vital part of layering. Combine different materials, such as rough paper, satin paper, fabrics, lace, ribbons and even three-dimensional elements, such as buttons or decorative stones. The variation in textures adds tangible depth to the page, captivating the sense of touch.
3. Dimension with Foam Adhesives
Foam stickers, also known as dimensional stickers, are essential tools for creating layers at different height levels. They elevate elements of the page, providing subtle shadows and a three-dimensional appearance. Use them to raise titles, cut out figures and other highlighted elements.
Foam stickers, also known as dimensional stickers or foam stickers, are a great way to add extra dimension to your scrapbooking projects. These stickers have a layer of foam on the back that elevates the element from the page, creating a three-dimensional effect. Here are some tips on how to use foamy stickers to add dimension to your scrapbooking:
- Choose the appropriate foamy stickers: Foamy stickers are available in a variety of shapes, sizes and themes. Choose the ones that fit your design and complement the theme and colors you are using.
- Highlight key elements: Use foamy stickers to highlight specific elements on your page, like photos, titles, sentiments, or decorative details. Place them under these elements to make them stand out.
- Create layers: Combine foamy stickers with other layering elements like decorative paper, cutouts, and photos to create dimensional layers. This adds depth and texture to your layout.
- Strategic placement: Think carefully about where you place the foam stickers. They can be used to lift an entire part of a photo or just to add a subtle touch of dimension to a specific detail.
- Adjust the height: Some foam stickers come in different heights, allowing you to choose how high you want an element to be raised. This allows for precise dimension control.
- Complement with shadows: To further enhance the dimension created by the foamy stickers, you can add light shadows under the raised elements. Use a pencil or chalk pastel to create soft shadows.
- Experiment with overlays: Use foamy stickers to create interesting overlays on your page. This can be especially effective when creating themed or scenic layouts.
- Don’t go overboard: While foamy stickers add lovely dimension, avoid going overboard as too many dimensional layers can make your page overly bulky. Maintain a balance between flat and dimensional elements.
Remember, foam stickers are a versatile scrapbooking tool that allows you to add a three-dimensional touch to your projects in a creative and fun way. Experiment with different combinations and techniques to find the style that best suits your specific project.
4. Intricate Cutouts and Delicate Layers
Elaborate cutouts like lace borders, detailed silhouettes, and intricate embellishments can be used as distinct layers. By combining cutouts and delicate layers, you create a visually rich and sophisticated aesthetic. Make sure these cutouts complement each other and don’t overlap in a confusing way.
5. Photos as Layering Elements
Your photos can also be an integral part of the layering process. Instead of simply pasting your photos into the layout, consider “snapping” them between layers, creating the effect that the images are an organic part of the composition. This can be especially effective when telling stories that evolve over time.
Using photos as layering elements in scrapbooking is a great way to add depth and meaning to your project. Here are some ways to incorporate photos as part of the layering process:
- Framed photos: Place your photos in small paper or cardboard frames. You can create simple or decorative frames that match the theme of your project. Layer these frames on top of the paper background to make your photos stand out.
- Photo Crops: Instead of using full-size photos, you can crop parts of photos to highlight specific elements. For example, if you have a photo of a group of people, you can crop out a person’s face and place it on an overlay layer around the original photos.
- Photo Collage: Create photo collages by superimposing multiple photos on top of each other to tell a story or show a sequence of events. Make sure the photos complement each other and relate to each other in some way.
- Photos in corners: Place photos at the edges of the page, projecting them away from the main area of the layout. This creates a feeling that the photos are “jumping out” of the page, adding dimension.
- Photos into Shapes: Cut your photos into specific shapes like circles, hearts, stars, etc. and layer them on the background paper. This adds visual interest and creates a sense of continuity.
- Photos on ribbons or strips: Create paper strips or ribbons where you can position photos. These strips can be positioned diagonally or vertically on the page, adding dynamism to the layout.
- Photos “pulled” by decorative elements: Use decorative elements, such as flowers, leaves or arrows, to create a feeling that the photos are being pulled or directed towards a focal point in the layout.
Remember, the purpose of layering is to add depth and visual interest to your scrapbooking. Try different ways to incorporate photos as layering elements to create a design that tells the story you want in a creative and meaningful way.
6. Enjoy Natural Elements
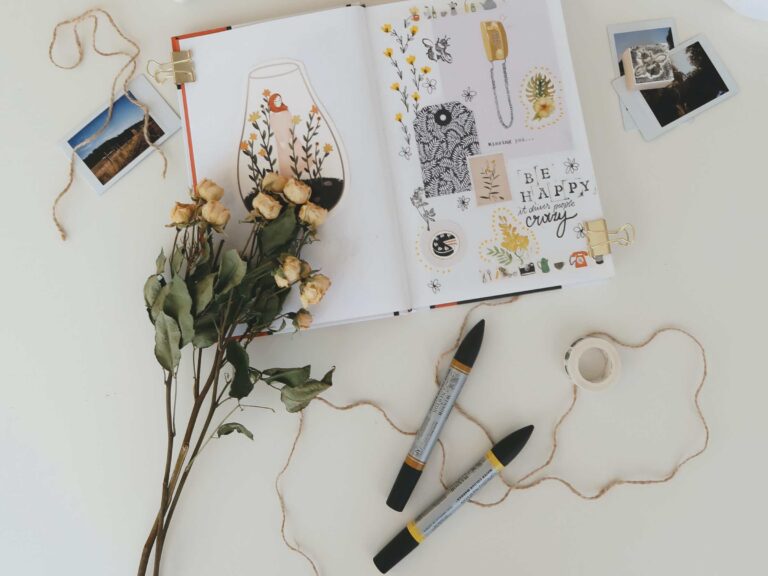
Elements from nature like dried leaves, pressed flowers, and even small pieces of wood can add a unique touch to your scrapbooking layout. These elements bring authenticity and an organic touch, enriching the layering with a feeling of connection with nature.
7. Balance and Composition
Finding the right balance is essential in advanced layering techniques. Distribute layers evenly and consider the rule of thirds when positioning key elements. This will ensure that the layout is visually pleasing and that each layer contributes to the overall narrative.
Conclusion
Mastering advanced layering techniques can significantly elevate the quality and depth of your scrapbooking projects. The careful layering of elements, colors, textures and patterns creates engaging visual compositions that tell stories in a unique and captivating way. As you explore these techniques, remember that practice makes perfect. The more you experiment and hone your skills, the more confidence you’ll have in creating truly stunning scrapbooking layouts.
So the next time you sit down to create, remember the tips shared in this article. Start by carefully selecting your colors and materials, experiment with different textures, and don’t be afraid to incorporate natural elements to add an authentic touch. By applying these advanced layering techniques, you’ll be on your way to deepening your scrapbooking skills and creating pieces that captivate the eyes and touch the hearts.

