Step-by-Step: Creating a Seasons-Themed Scrapbooking Page
Scrapbooking is a creative and captivating way to preserve memories and tell stories through photographs, clippings, notes and other decorative elements. A charming way to approach scrapbooking is to create themed pages that capture the essence of the different seasons. In this step-by-step guide, we’ll explore how to create a scrapbooking page inspired by the seasons, from selecting materials to final assembly. Let’s start!
Table of Contents
Step 1: Choosing the Season and Theme Colors
The first step to creating a season-themed scrapbooking page is choosing which season you want to depict. Each season has its own distinct characteristics, and you can use corresponding colors to enhance the atmosphere of your page. For example:
- Spring: Opt for soft, pastel tones, such as shades of green, pink and yellow. Use flowers and elements that represent the rebirth of nature.
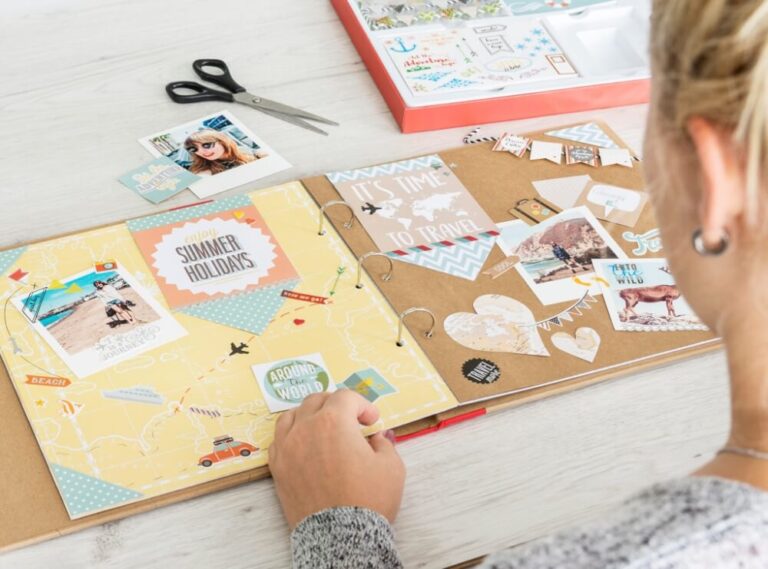
- Summer: Choose vibrant colors such as orange, turquoise and warm shades of yellow. Elements like shells and umbrellas can evoke the feeling of the beach and summer vacation.
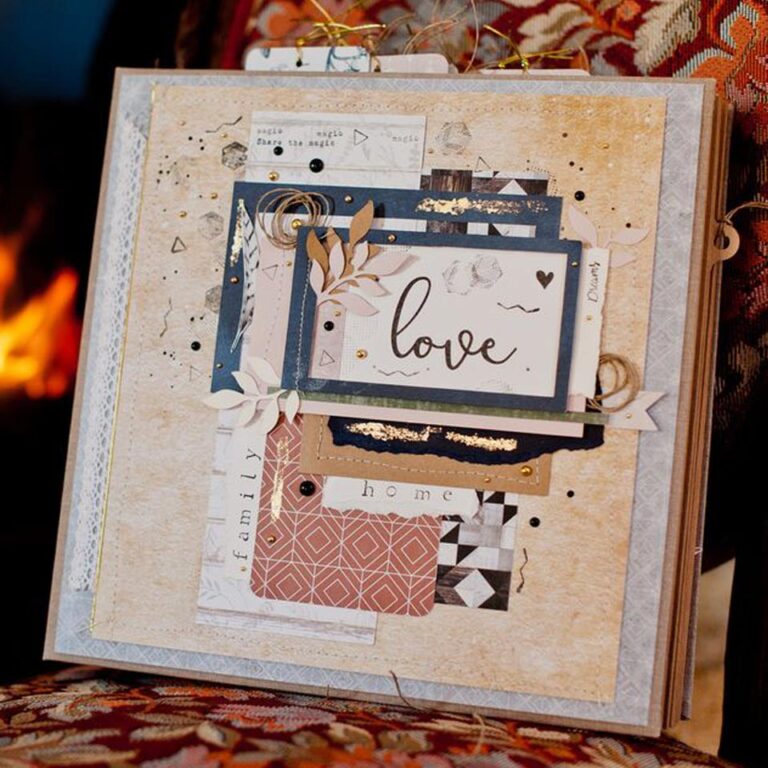
- Autumn: Wear earthy tones such as brown, burnt orange and deep shades of red. Dried leaves, pumpkins and other autumn symbols can be incorporated.
- Winter: Opt for cold colors, such as dark blue, silver and white. Snowflakes, reindeer and Christmas-related elements can be used to convey the magic of winter.
Step 2: Material Selection
Once you’ve chosen the season and themed colors, it’s time to select the materials for your scrapbooking page. You will need:
- An album or sheet of paper as the basis of the page.
- Decorative papers in the colors of the chosen season.
- Photographs that relate to the season.
- Decorative elements such as stickers, paper cutouts and ribbons.
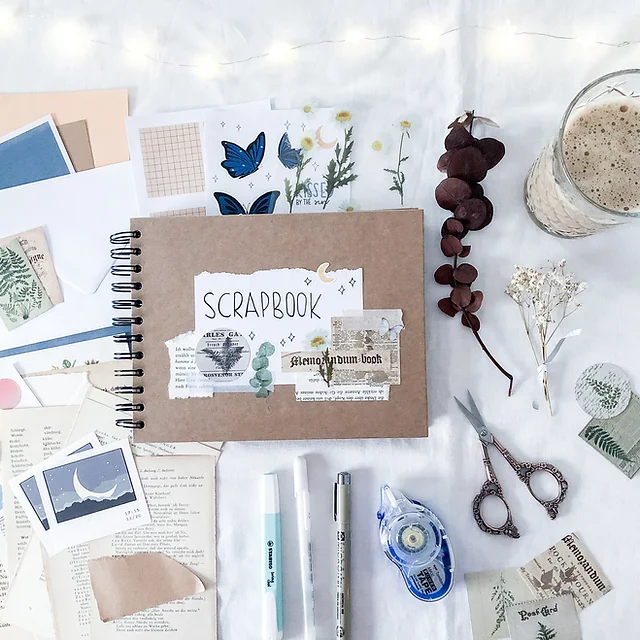
- Cutting and gluing tools.
- Pens for writing notes or details.
Here are some ideas on what can be incorporated into scrapbooking for each season:
Spring:
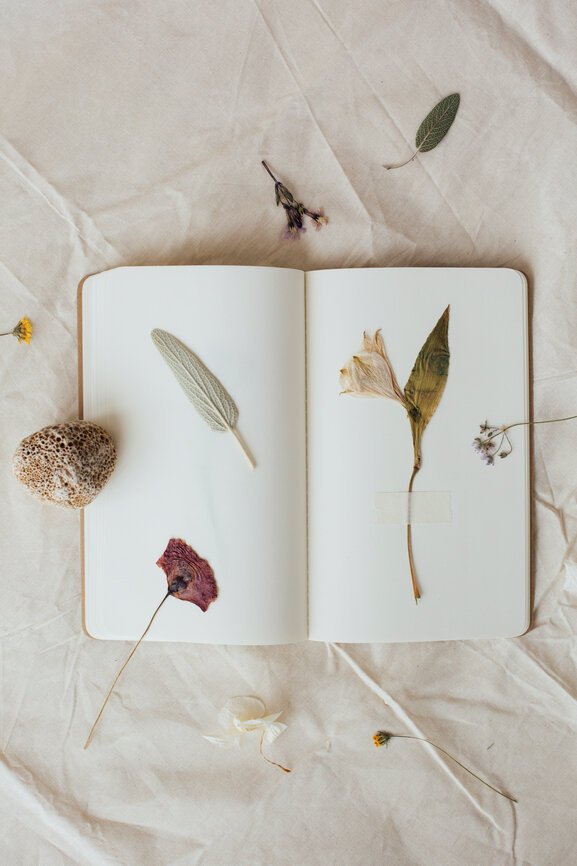
- Flowers and Buds: Use dried flowers or buds to create floral decorations on your pages, representing the blossoming of spring.
- Flower-Themed Scrapbooking Paper: Choose scrapbooking paper that features floral patterns and vibrant colors typical of spring.
- Garden Photos: Include photos of gardens, parks, and outdoor areas filled with flowers and blossoming trees.
- Animal Elements: Add images of birds, butterflies, and other animals that are common in spring.
- Easter elements: For Easter, include bunnies, decorated eggs and other symbols associated with this festival.
Summer:
- Shells and Sand: If you spent your summer vacation at the beach, incorporate shells, sand, or beach photos into your pages.
- Travel Elements: If you traveled during the summer, add maps, airline tickets, or other travel-related elements.
- Outdoor Activities: Include photos of barbecues, picnics, camping, bike rides, and other outdoor activities typical of summer.
- Stripe Prints and Bright Colors: Use scrapbooking paper with stripe patterns or vibrant colors that remind you of summer.
- Summer Flowers: Add flowers and plants that bloom during the summer, such as daisies, sunflowers and hydrangeas.
Fall:
- Dried Leaves: Collect dried leaves from trees that changed color in the fall and use them on your pages.
- Pumpkins and Decorative Pumpkins: Get creative with pumpkins by decorating them and incorporating them into your scrapbooking, especially during the Halloween season.
- Autumn Landscape Photography: Take photos of landscapes with trees with colorful leaves or walks in the forest during autumn.
- Thanksgiving Elements: For Thanksgiving, include elements like peacocks, pumpkins, fall leaves, and festive tableware.
Winter:
- Snow Photos: If there is snow in your area, take photos of snow-covered landscapes and related activities, such as building snowmen.
- Christmas Elements: For Christmas, include Christmas trees, decorations, lights, and images of gifts.
- Snowflake Prints and Cold Tones: Use paper with snowflake prints, blue and silver tones to add a winter touch to your pages.
- New Year’s Elements: For New Year’s, add clocks, fireworks, and items related to the celebration.
- Winter Accessories: Add gloves, scarves, boots and other winter accessories to your pages to convey the feeling of cold.
Remember, these are just suggestions, and you can customize your scrapbooking pages according to the season-specific experiences and memories you want to document. Incorporating elements related to the season helps create a themed environment and highlight the unique characteristics of each time of year in your creations.
Step 3: Layout Planning
Before pasting any elements, it’s a good idea to plan the page layout. Think about how you want to organize the photos, decorative papers, and additional elements. You can create a quick sketch to visualize how everything will fit together.
Planning a scrapbook layout is an essential part of the creation process, as it helps you organize your photos, decorative elements, and text in an attractive and meaningful way. Here are some steps to help you plan your scrapbook layout:
- Select your Photos: Choose the photos you want to include in your scrapbook and organize them in a logical or chronological order, if applicable. This will help you determine how many pages you will need and which photos will be included on each page.
- Define a Theme or Topic: Decide on the general theme or topic of your scrapbook. This will guide the choice of papers, colors and decorative elements that relate to the story you are telling.
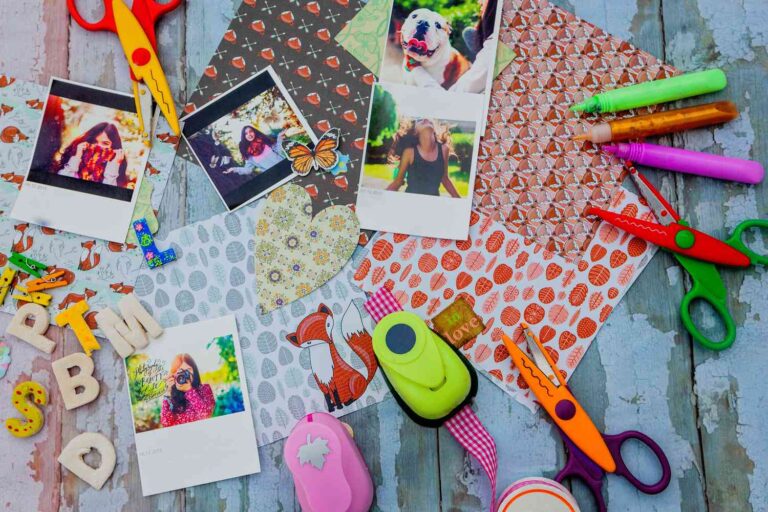
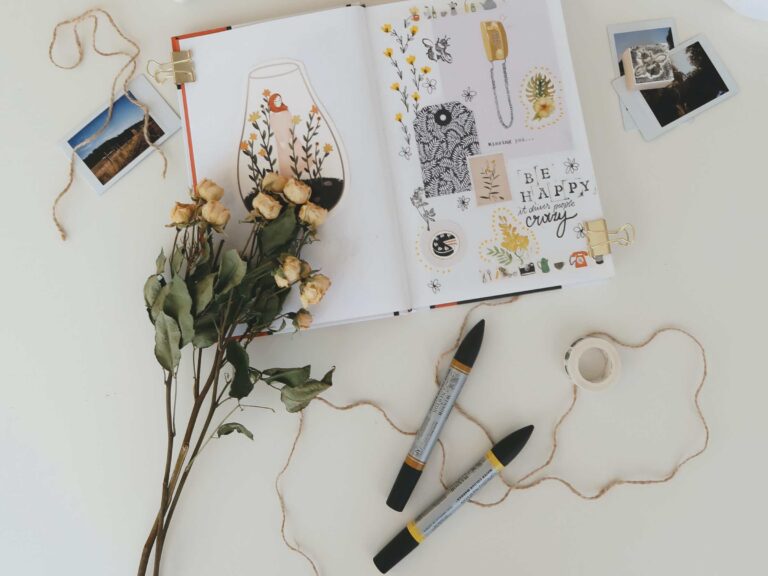
- Choose Materials: Select the scrapbooking materials you will use, including paper, stickers, ribbons, stamps, paints and other decorative elements. Make sure these materials align with your theme.
- Create a Sketch: Before you start pasting elements onto pages, make a sketch of the layout. This could be a simple representation of the positions of photos and decorative elements, or a more detailed drawing of how you want the final page to look.
- Arrange the Elements: Place the decorative elements on a table or flat surface, along with the photos. Experiment with different arrangements until you find a visually pleasing composition.
- Consider the Narrative: Think about the story you want to tell with each page. Decide where text, such as captions, titles, and notes, will be placed and how it will relate to photos and decorative elements.
- Remember Visual Hierarchy: Create a visual hierarchy on your pages, highlighting important elements such as main photos, titles and key messages. This will help viewers understand the story clearly.
- Balance and Proportion: Make sure the layout has a pleasing visual balance and consider the proportion of elements. Avoid overloading the page with too many elements or making it too empty.
- Create a Cohesive Color Palette: Maintain consistency in your color palette throughout your scrapbook to create a sense of cohesion and harmony.
- Review and Adjust: Before gluing everything together, do a final review of your layout and make adjustments as needed. Make sure everything is exactly how you want it before attaching the elements.
- Paste and Decorate: Finish your layout by pasting photos, decorative elements and adding text as planned. Make sure to use quality adhesives and glue to ensure durability.
- Document and Label: Don’t forget to document the date and any important information related to the memory you are recording. This is especially important if you are scrapbooking to preserve memories over time.
Remember that there is no one-size-fits-all formula for creating scrapbooking layouts, and creativity is key. Experiment with different styles, techniques, and approaches until you find what works best for you and the story you want to tell. Careful planning will help ensure your scrapbook is visually appealing and tells the story in a meaningful way.
Step 4: Assembling the Page
Now is the time to start putting together your scrapbooking page! Follow these steps:
- Base Preparation: Glue the chosen decorative paper as the page background. This will set the tone for the season.
- Adding Photos: Place your chosen photos into the planned layout. You can cut them into creative shapes, like circles or hearts.
- Decorative Elements: Add stickers, paper cutouts, and other seasonal decorative elements. For example, if it’s a spring page, add flowers and butterflies.
- Written Details: Use pens to write notes, dates or short stories around the photos. This will add a personal touch to the page.
- Layers and Dimension: Create layers using folded pieces of paper or foam tape to add dimension to the page.
Step 5: Final Touches and Preservation
With the basic assembly complete, it’s time to add the finishing touches. Take a last look at the page and adjust any elements that seem out of place. Make sure everything is glued together and secure.
To preserve your scrapbooking page, you can choose to place it in protective plastic or use specific scrapbooking products that help protect it from damage and fading over time.
Here are some tips for preserving your scrapbook:
- Choose High-Quality Materials: Use high-quality scrapbooking materials such as papers, stickers, ribbons, and acid free. These materials are acid and lignin free, which helps prevent yellowing and deterioration over time.
- Use Page Protectors: Place each page of your scrapbook in archival-quality plastic page protectors. This will protect your pages from dust, dirt and smudges.
- Keep it in a Proper Location: Store your scrapbook in a cool, dry and dark place, away from direct sunlight, humidity and extreme temperature fluctuations. Sunlight and moisture can cause materials to fade and deteriorate.
- Avoid Exposure to Moisture: Keep your scrapbook away from damp areas and water. Moisture can cause irreparable damage to materials.
- Handle with Care: When handling your scrapbook, be sure to wash your hands to avoid transferring oils and dirt to the pages. Use white cotton gloves if you are handling extremely delicate items.
- Avoid Pasting Photos with Adhesive Tape: Avoid using adhesive tape, non-acid-free glue or double-sided tape on photos, as these materials can damage photos over time. Use stickers suitable for photos or corners for mounting.
- Avoid Excess Weight: Do not overload your scrapbook with too many decorative elements or too thick layers of paper, as this can cause damage to the structure of the album.
- Make Copies of Important Photos and Documents: If you are using original photos or documents that you cannot replace, make copies of them before including them in the scrapbook. This ensures you have a backup copy in case of deterioration.
- Review and Maintain: Periodically review your scrapbook to ensure materials and photos are in good condition. Make any necessary repairs, such as re-gluing loose elements.
- Use Storage Boxes: If you are not displaying your scrapbook, consider storing it in a sturdy cardboard storage box, with protective paper sandwiched between the pages.
- Make a Digital Copy: If you wish, make a digital copy of your scrapbook to preserve your memories digitally and easily share them with others.
Remember that over time, even high-quality materials can eventually deteriorate. Therefore, it is important to be aware of the care necessary to ensure the longevity of your scrapbook and your precious memories.
Conclusion
Creating a seasonally themed scrapbooking page is a charming way to capture special moments and the unique atmosphere of each season. By choosing colors, materials, and decorative elements that match your chosen season, you can create a visually stunning design that will tell a story in and of itself. Remember, scrapbooking is a form of creative expression, so have fun and let your imagination run wild as you work on every detail of your seasonal themed page.

